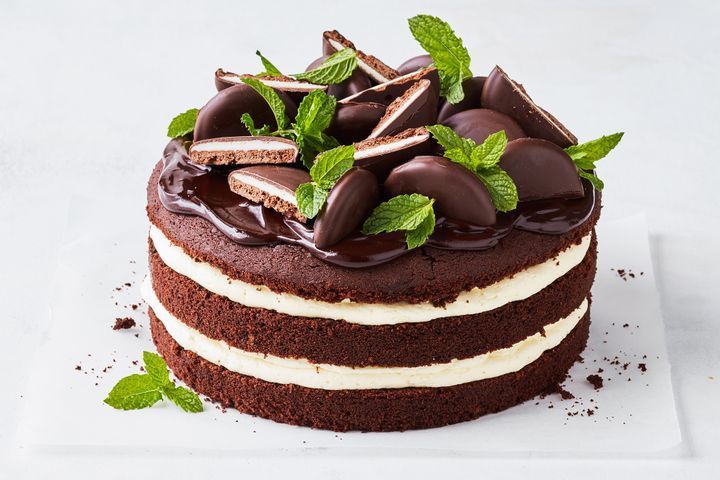
Mint Slice Cake
Ingredients
- 50 gram cocoa powder
- 1/2 teaspoon bicarbonate of soda
- 185 ml of boiling water
- 225 gram self-raising flour
- 75 gram plain flour
- 185 gram butter at room temperature
- 255 gram brown sugar
- 3 eggs
- 200 gram dark chocolate
- 125 ml thickened cream
- 7 Arnott's Mint Slice biscuits
- Fresh mint leaves
Buttercream
- 250 gram butter at room temperature
- 450 gram icing sugar mixture
- 2 teaspoons peppermint essence
Method
- Start with the basic preparation. Preheat the oven to 180°C/160°C fan-forced. Take a 20 cm cake pan and grease it. Cover the bottom with baking paper. Sift the cocoa powder and the bicarbonate of soda into a bowl. Put in the boiling water and stir it until it is smooth. Put aside to cool down. Sift the two flours into a separate bowl.
- Use a mixer to beat the butter and sugar until it is pale and creamy. Add the eggs 1 by 1 and beat after each addition. fold in half the sifted flour mixture, then the cocoa mixture, then the remaining flour mixture. Combine it all.
- Pour the butter into the prepared cake pan. Put it in the oven for 50 minutes. Get it out and let is cool down for 10 minutes. After these 10 minutes, remove the pan and let it completely cool down on a wire rack.
- In the mean time, you can start with the buttercream. Use the mixer to beat the butter until it is pale and creamy. Add the icing sugar, a large spoonful at a time. Beat it constantly until it is a smooth mixture. Add the peppermint essence.
- Use a large knife to divide the cake into 3 horizontal layers. Place the base on a serving platter and spread half the buttercream on it. Top with the middle cake layer. Spread the reaming buttercream and top with the last cake layer.
- The last step! Place the dark chocolate and thickened cream in the microwave. Stir it every minute until it is melted and smooth. Spread it out over the cake and put on the Arnott's Mint Slice biscuits and mint leaves for decoration.
You did it! This is going to be a delicious cake. Enjoy!